Picture this. You build a new deck last summer. Rain pours for weeks. By spring, boards sag. Joists underneath rot from the inside out. Repair costs hit $5,000.
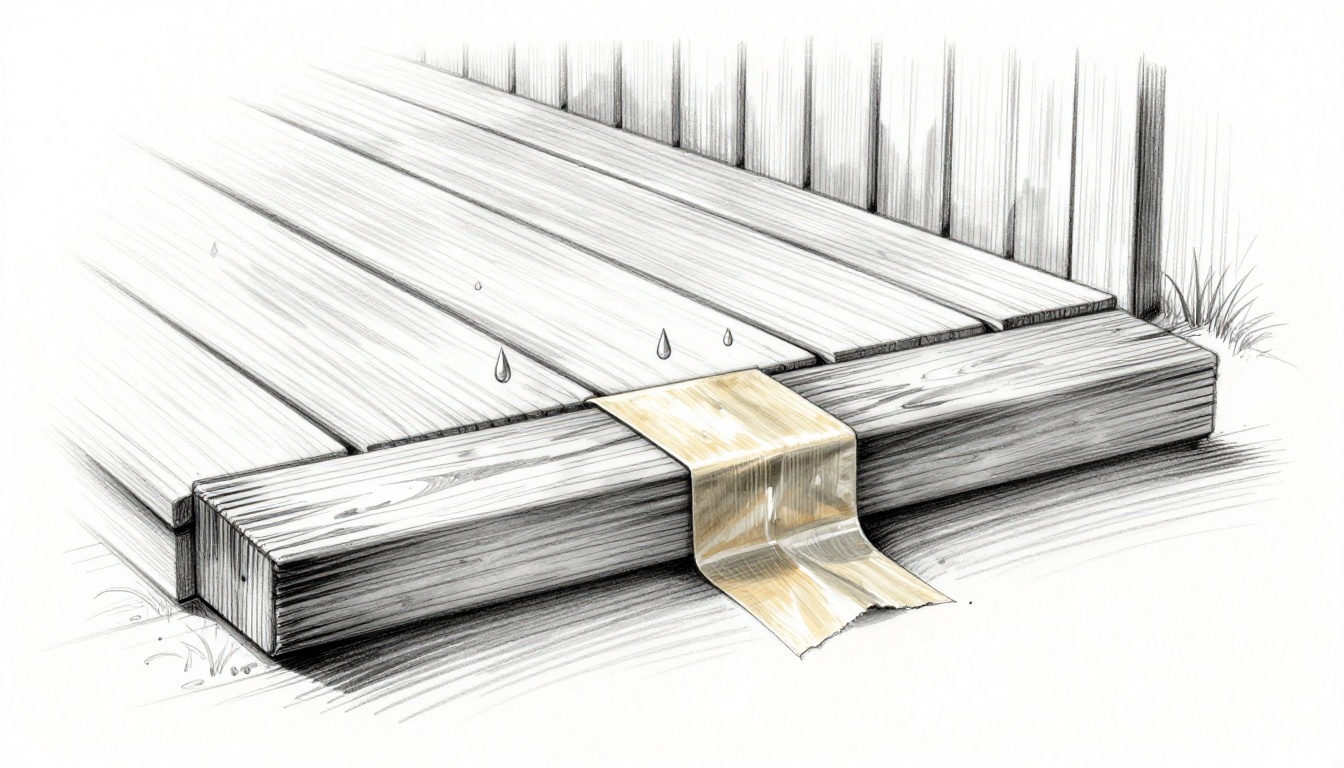
Internal wood rot happens fast. Water seeps through gaps between deck boards. It drips onto joists. Capillary action pulls moisture deep into the wood fibers. Decay starts hidden. You see damage only when it’s too late.
Joist tape changes that. This peel-and-stick barrier seals the top and sides of joists. It blocks water completely. Wood stays dry and strong. This guide walks you through every step. You’ll get tools, prep tips, application methods, and pitfalls to skip. Follow along. Save thousands and make your deck last decades.
Grasp How Moisture Sneaks In and Destroys Joists Without Joist Tape
Rain falls on your deck. Drops hit board gaps first. They trickle down to joists below. Wood acts like a sponge. It soaks up water through tiny pores.
Capillary action does the rest. Moisture climbs up fibers against gravity. It pools at shoulders where boards meet joists. Rot sets in soft and slow. Fungus feeds on wet cellulose. Wood turns crumbly. Strength drops 50% in months.
Untreated decks fail in 10 to 15 years. Taped ones push past 25 years. Tests show it. Water can’t penetrate the seal. Wood breathes but stays dry.
Many building codes now recommend joist tape. Builders use it for warranties. Homeowners add it during repairs. Skip it, and moisture wins every time. Apply it right. Your frame stays solid through storms.
Stock Up on These Must-Have Tools and Materials for Flawless Results
Gather everything before you start. Missing items slows you down. Quality matters most.
You’ll need high-quality butyl joist tape. Go for 3-inch wide rolls. Brands like Trex Protect or DeckWise work well. Buy 10 to 20% extra. One roll covers about 75 feet.
Grab a sharp utility knife. It cuts clean edges. Get a heavy-duty roller too. A 2-inch wide one presses out air best. Add a heat gun or hair dryer. Heat activates the adhesive.
Measure with a tape measure. Clean using TSP or a 1:10 bleach-water mix. Use a stiff brush and 120-grit sandpaper. Wear nitrile gloves and safety glasses.
Find these at home centers like Home Depot. Total cost stays under $100 for a standard deck. Shop smart. Test tape samples if possible. Good tools mean one-day jobs.
Prime Your Joists Perfectly So the Tape Sticks for Decades
Prep sets the foundation. Skip it, and tape fails fast. Start with a full frame inspection.
Walk every joist. Check for cracks or old rot. Fill small damage with wood filler. Sand smooth once dry.
Clean next. Brush on TSP or bleach mix. Scrub every inch. Kill mold and lift dirt. Rinse thoroughly. Let air dry 24 to 48 hours. Wood must feel bone-dry. Use a moisture meter if you have one. Levels below 15% work best.
Sand high spots lightly. Create a flat surface. Cover nearby lumber to shield from cleaners.
Work in good weather. Temps above 50°F help. Wear gear against chemicals. Dry, clean joists bond forever. Wet ones peel in a season.
Nail the Application: Follow These Steps for Bulletproof Protection
Pick a dry day. Start at one end of the frame. Work joist by joist. Cut tape 2 inches longer than each span.
Peel backing halfway. Center it on the top edge. Overhang 1.5 inches per side. Press by hand first.
Peel the rest. Fold sides down snug. Avoid wrinkles. Roll from top to bottom. Heat gently. Roll again while warm.
Overlap ends 3 to 4 inches. Handle corners with care. Trim excess. Repeat across all joists.
Step 1: Measure Twice and Cut Tape to Exact Joist Length
Snap a chalk line if spans vary. Measure end to end. Add 2 to 4 inches overhang.
Use a straight edge and utility knife. Cut straight. Stack pieces for batches. Don’t stretch the tape. It shrinks back.
Pro tip: Prep all cuts first. Speed keeps momentum.
Step 2: Center the Tape and Start Sticking from the Middle Out
Align dead center on top. Even overhang both sides. Peel 12 inches of backing.
Press fingers from center outward. Go slow. Bubbles ruin seals. Get a helper for long joists. They hold ends steady.
Step 3: Fold Sides Down and Press for Full Coverage
Peel full backing now. Fold sides like envelope flaps. Press to the bottom edge.
Smooth with palm. Check shoulders. No gaps there. Water pools otherwise.
Step 4: Roll Firmly and Apply Heat to Lock in the Seal
Roll top with heavy pressure. Five to 10 passes. Hit sides and edges next.
Heat 6 inches away. 10 to 20 seconds per foot. Move constant. No melting.
Re-roll while warm. Test by pulling. It shouldn’t lift.
Step 5: Perfect Ends, Corners, and Beam Overlaps
Overlap ends 4 inches. Roll the seam extra hard.
At house rim joists, fold tape up if you can. Caulk gaps.
Corners need 45-degree miter cuts. Butt fit or slight overlap.
Beams get full wraps. Add double layers if thick.
Dodge These Traps to Keep Your Joists Rot-Free Forever
Errors cost time and money. Know them upfront. Fix as you go.
Common slips include wet wood apps. Wrinkles trap water. Light rolling leaves air pockets.
Cold weather weakens bonds. Cheap tape peels quick. Always double-check.
Inspect yearly after. Reapply if edges lift. Seal board gaps too.
One good job prevents $5,000 repairs. Effort pays off big.
Mistake 1: Ignoring Prep Leads to Peeling Tape Disasters
Dirt or moisture kills adhesion. Tape lifts in months. Clean bonds last 80% longer.
Dry test with finger. Prep fully every time.
Mistake 2: Rushing in Bad Weather Ruins Your Hard Work
Tape needs 50°F plus. No rain 24 hours before or after. High humidity over 70% hurts too.
Wait it out. Patience wins.
Mistake 3: Weak Seals Let Water Win Over Time
Skip rolling or heat. Bubbles form. Lifts follow.
Full process gives 20-year shields.
Joist tape stops rot cheap and simple. It saves thousands over time. Prep right. Apply steady. Your deck thrives.
Grab supplies now. Tape before deck boards go down. Works on old decks too if you clean well.
Share your project in comments. What deck fixes worked for you? Subscribe for more DIY tips. Your outdoor space stays strong for years of fun.