Picture this. You built a nice backyard deck last winter. Come spring, it tilts. Cracks spiderweb across the boards. Guests wobble on uneven steps. Frost heave struck again. Concrete footings dug too shallow let the soil shift and lift your structure.
Footings form the base for decks, sheds, or fences. They spread loads into stable soil. Digging below the frost line prevents freeze-thaw damage. Water freezes, expands, and heaves anything above that depth.
This guide walks you through every step. You’ll plan depths, dig holes, set forms, pour concrete, and cure properly. Basic tools make it DIY-friendly. Follow along for footings that hold steady through seasons.
What Is the Frost Line and Why Dig Footings Below It?
The frost line marks the deepest point soil freezes in winter. In cold climates, it plunges deep. Warm areas see shallower freezes.
Frost heave happens because water in soil turns to ice. That ice expands by nine percent. It pushes up footings like a slow-motion jack. Structures crack, lean, or collapse over time.
Consequences hit hard. A shed door sticks. Deck railings sag. Worst case, the whole build fails. Codes demand footings sit six inches below the frost line for safety.
Depths vary across the US. Southern states need about 12 inches. Midwest calls for 36 inches. Northern spots like Minnesota hit 48 to 60 inches or more. Check your local depth first. Call the building department or search frost line maps online.
Think of it like planting trees. Roots go deep to anchor against wind. Footings do the same for builds. Skip this, and you invite trouble every freeze.
Planning Your Project: Find Depths, Sizes, and Gather Supplies
Start smart. Know your frost line exactly. Contact your local building department. They provide maps or code minimums. Online tools from ground-freeze data help too.
Size footings by load. A deck post might need 12 by 12 inches. Heavy structures demand larger pads. Factor tributary area. Divide total weight by posts.
Gather tools and materials early. Permits matter. Most areas require them for decks over 200 square feet. Always call 811. They mark utilities for free.
Here’s a quick checklist to stay organized:
| Item | Purpose | Notes |
|---|---|---|
| Frost line map | Confirm depth | Local code minimum + 6 inches |
| Tape measure | Mark sizes | 100-foot version |
| Building permit | Legal approval | Apply early |
| 811 call | Utility locate | Wait 3 days |
This table keeps you on track. Double-check everything before digging.
Tools You’ll Need for Digging and Pouring
A post hole digger cuts clean holes fast. Clamshell types work best for clay. Shovels handle loose dirt.
Levels ensure plumb work. Bubble levels suit small jobs. Laser levels shine for precision over distance. Rent one if buying feels steep.
Tamper packs gravel firm. Wheelbarrow hauls dirt and mix. Safety gear tops the list: gloves grip tools, goggles shield eyes, steel-toe boots protect feet.
Budget tip. Rent a power auger for deep holes. It saves back strain on big projects.
Materials List for Sturdy Footings
Concrete mix comes in 80-pound bags. Plan one bag per 0.6 cubic feet. Gravel forms a four-inch drainage base.
Rebar or wire mesh adds tensile strength. Use half-inch rebar in a grid. Forms need straight 2×6 lumber. Sonotubes work for round piers.
Safety first. Get knee pads and dust masks. For large pours, order ready-mix trucks. They deliver consistent batches.
Scale quantities to your job. Four footings might take 20 bags plus gravel.
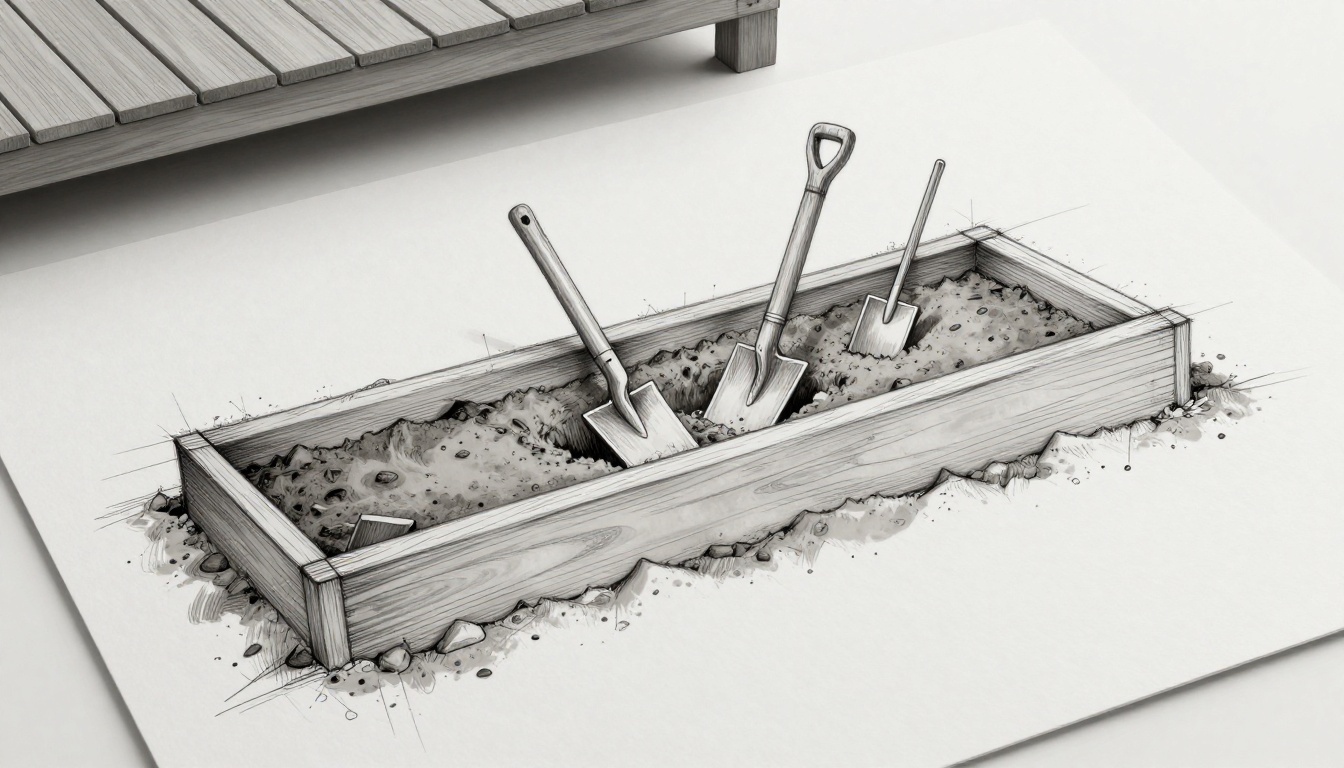
Digging Footing Holes the Right Way Every Time
Mark spots first. Drive stakes at corners. Stretch string lines between them. This creates your layout.
Dig to frost line depth plus six inches. Make holes wider at the bottom for a bell shape. That resists uplift better.
Dump four inches of gravel in each. Tamp it level. It drains water and stabilizes the base.
Use a marked stick to verify depth. Pull it out clean at the top mark. Rocky soil needs a pickaxe. Wet clay? Dig dry or use a water jet to loosen.
Straight walls prevent slumping. Level bottoms avoid weak spots. Patience pays off here.
Marking and Measuring Your Layout Accurately
Batter boards elevate strings above ground. Nail them to stakes outside the layout.
Use the 3-4-5 rule for squares. Measure three feet one way, four feet perpendicular, five feet diagonal. Adjust until diagonals match.
Measure between every post hole. Recheck after digging starts. Shifts happen easy.
Techniques for Clean, Deep Holes
Hand dig for control on small jobs. Augers speed through sand but bind in rocks.
Remove all loose dirt. Smear-free walls bond concrete better. In wet soil, let it dry first.
Test each hole. Drop a board across. Check level with a four-foot level. Square it with your string lines.
Setting Up Forms and Reinforcement Before the Pour
Forms shape wet concrete. Cut 2×6 boards to length. Nail corners square. Stake every two feet outside.
Brace diagonals prevent blowouts. Level the top edge all around. Plumb checks keep sides vertical.
Coat inside with oil or form release. It strips easy later.
Reinforcement fights cracks. Place it now, not after pour.
Sonotubes suit posts. Cut taller than needed. They save wood forms.
This setup ensures uniform strength.
Building Simple, Sturdy Forms
Measure twice, cut once. Use a circular saw for clean ends.
Nail with 16d nails. Double up on corners. Kick braces hold against pressure.
Level every side. Shim low spots. Top edges set pour height.
Adding Rebar for Extra Strength
Lay a grid inside forms. Space bars 12 inches apart. Tie intersections with wire.
Elevate on plastic chairs. Concrete covers all sides.
Vertical rebar ties to posts later. Codes often require it.
Fiber mix skips rebar sometimes. It works for light loads. Rebar handles soil shifts best.
Pouring Concrete: Get It Smooth and Strong on the First Try
Mix to pancake batter thickness. Too wet weakens it. Bag mixes simplify small jobs.
Pour all at once per footing. Lifts create cold joints that crack.
Tap sides to settle. A vibrator consolidates best, but a shovel works.
Screed with a straight board. Bull float smooths next. Trowel edges crisp.
Cover with plastic right away. It traps moisture for cure.
Mixing or Ordering the Perfect Batch
Bag mix ratios: follow the label. Add water slow. Test slump with a cone.
Ready-mix needs volume calc. Length times width times depth in feet, times 27 for yards.
Trucks churn fresh. Schedule tight for small sites.
Leveling, Finishing, and Protecting the Fresh Pour
Darby first for rough level. Bull float evens it out.
Edge corners round. Don’t over-trowel, or it weakens.
Burlap or plastic cures it. Mist daily first week.
Curing Time, Backfilling, and Beginner Mistakes to Skip
Cure slows drying. Sprinkle water days one through seven. Blankets help in dry air.
Full strength hits at 28 days. Build then.
Backfill in six-inch layers. Tamp each firm. Native soil works fine.
Mistakes kill projects. Dig too shallow. Skip gravel. Weak forms leak.
Lift bags smart. Bend knees. Work with a buddy. Pick dry days over 50 degrees.
How Long to Wait Before Building On It
Day one: keep damp. No foot traffic.
Day three: light sprinkles continue.
Day seven: solid enough for forms off.
28 days: load it up. Hammer tap sounds dull when ready.
Top Pitfalls and How to Avoid Them
Shallow frost line: measure twice.
Uneven holes: level obsessively.
Weak mix: test slump.
Rushed cure: patient wins.
Use this list. Check off as you go.
You’ve got the steps for solid footings. Dig deep, pour right, cure slow. Your deck or shed stands firm for years.
Grab tools this weekend. Tackle that project. Share your before-and-after in comments. Big jobs? Hire a pro. Stable bases mean zero worries ahead.