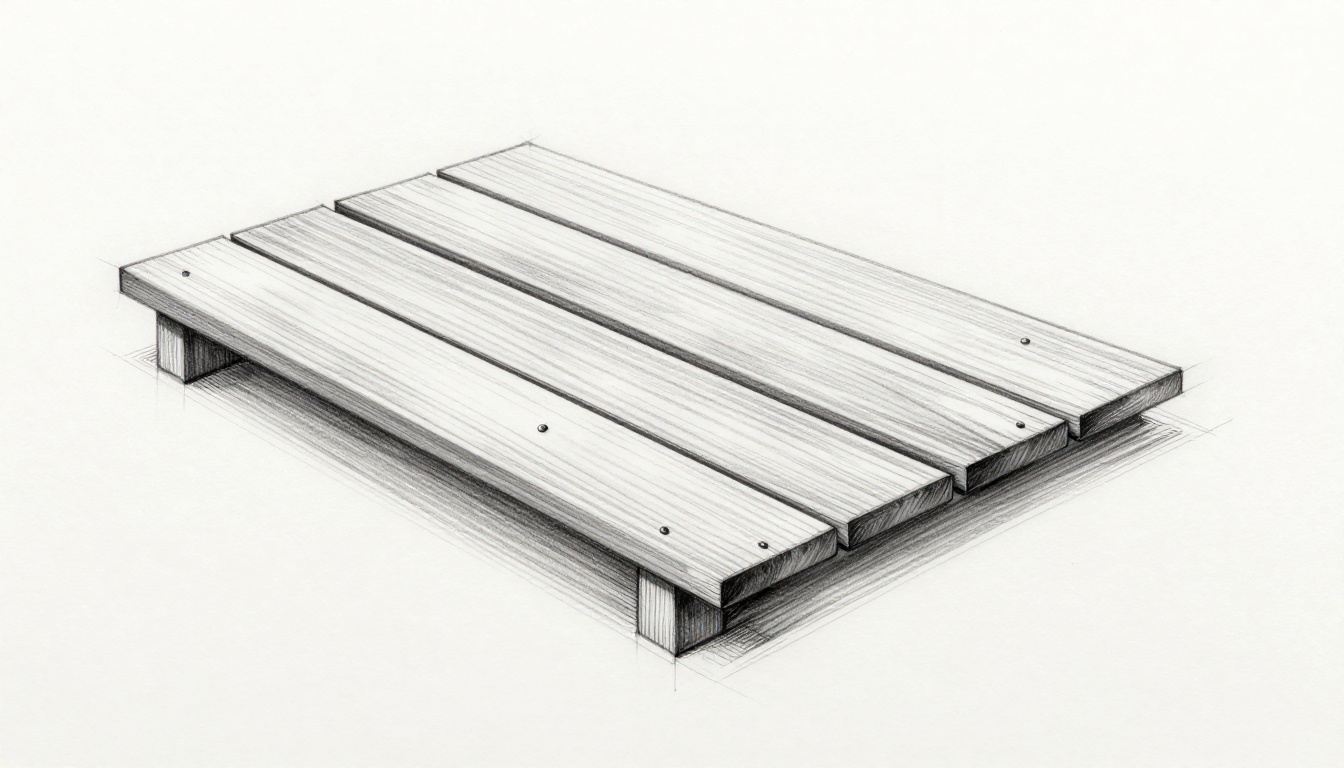
Picture this: You finish your dream deck just in time for summer barbecues. Rain hits a few weeks later. Boards buckle upward, gaps vanish, and cracks appear. Your perfect outdoor space turns into a wavy mess overnight.
Wood moves. It swells in wet weather and shrinks in dry spells. Ignore that fact, and your deck fights itself. Boards push together, split, or warp. Proper gaps prevent 90% of these headaches. This post breaks down the science simply. You’ll learn why wood expands, what factors change gap sizes, exact measurements for your build, and installation tips. No guesswork. Just flat decks that last.
What Causes Wood to Expand and Shrink on Your Deck
Wood acts like a sponge outdoors. It soaks up moisture from humid air or rain. Then it releases that water in dry conditions. This back-and-forth, called hygroexpansion, makes boards change size.
Kiln-dried lumber arrives at 15-19% moisture content. Outdoors, that jumps to 25% or more in wet seasons. Boards swell mostly across the grain, up to 8% on wide faces. Think of a cotton shirt fresh from the dryer. It shrinks tight when washed. Wood does the opposite with humidity.
Temperature matters less. It causes minor changes, about 0.1-0.2% per 10-degree Celsius shift. Moisture drives the real action. In summer humidity, boards push against each other without gaps. Result? Cupping or buckling.
Moisture: The Biggest Culprit Behind Board Movement
Relative humidity swings dictate moisture content. Dry summers drop it to 6%. Wet winters push it to 20%. A 5.5-inch wide pine board expands a full quarter-inch total across that range.
Gaps let water drain. They stop boards from locking tight and rotting. Without them, moisture traps underneath. Boards lift joists or split at ends.
Here’s a quick look at typical expansion for common deck woods over a 10% moisture change:
| Wood Type | Tangential Expansion (%) | Example on 6-Inch Board |
|---|---|---|
| Pine (PT) | 7-9 | 0.25-0.3 inch |
| Cedar | 5-6 | 0.18-0.21 inch |
| Redwood | 4-5 | 0.14-0.18 inch |
| Oak | 6-7 | 0.21-0.25 inch |
This table shows why planning ahead pays off. Match gaps to your wood’s habits.
How Temperature Plays a Supporting Role
Heat alone barely budges wood. But pair it with moisture, and problems grow. A hot, humid day maxes swelling. Cold snaps shrink boards fast, opening gaps too wide.
For example, a 100-degree Fahrenheit day in muggy air swells pine more than cool rain alone. Always factor both. Gaps handle the combo punch.
Key Factors That Dictate Your Ideal Gap Size
Gap size isn’t one-size-fits-all. Your wood type, local weather, and board specs set the rule. Get these right, and your deck stays flat for decades.
Start with expansion rates. Then adjust for climate and dimensions. This approach beats eyeballing it every time.
Different Woods Expand at Different Rates
Pressure-treated pine swells most. It needs bigger gaps, around 1/4 inch. Cedar and redwood stay stable. They work with 1/8 inch.
Density plays a part. Softer woods like spruce expand up to 9% tangentially. Denser oak hits 7%. Composites barely move at all.
Quarter-sawn boards expand less than plain-sawn ones. They cost more but last longer. Check your supplier’s specs first.
Your Local Climate and Season Matter
Hot, humid South calls for wider gaps. Think Florida summers at 90% humidity. Dry Southwest needs less, maybe 1/8 inch max.
Acclimate boards on-site for 1-2 weeks. They adjust to your air. Stack them flat with spacers for airflow. This cuts surprises.
Winter installs shrink boards temporarily. Add extra gap then. Spring swell fills it perfectly.
Board Dimensions and Orientation
Wider boards demand more space. A 6-inch pine needs 1/4 inch. Narrow 4-inch gets by with 1/8 inch.
Orientation counts too. Place boards with bark side up for natural drainage. Crown them slightly, high in the middle. This sheds water between gaps.
Exact Gap Recommendations for Bulletproof Decks
Standard rule: Leave 1/8 to 1/4 inch between board edges. For dry, narrow boards, start at 1/8 inch. Add 1/16 inch per extra 2 inches of width.
End gaps run 1/32 inch per linear foot. A 12-foot board gets 3/8 inch total at ends. This prevents splitting as wood shrinks.
Pros often use 3/16 inch for pressure-treated lumber. It splits the difference. Green lumber, fresh from the mill, needs double that at first. It dries fast.
Adjust by climate:
| Climate Type | Edge Gap (inches) | End Gap (per foot) |
|---|---|---|
| Humid (South) | 1/4 | 1/32 |
| Moderate | 3/16 | 1/32 |
| Dry (West) | 1/8 | 1/16 |
Use this chart as your guide. It matches most builds.
Spacer Tricks for Even, Pro-Looking Gaps
DIY spacers save time. A 16d nail measures 3/16 inch. Perfect for PT pine. Stack two 8d nails for 1/4 inch.
At joist ends, tighten to 1/8 inch. Boards overhang less there. Use washers or cut shims for precision.
Lay a straight board first. Then space others off it. Check with a level often. Even gaps make the deck pop.
Smart Installation Steps and Mistakes to Dodge
Success starts with prep. Acclimate wood. Crown boards upward. Screw them down, not nails. Screws let movement happen.
Leave end space at rim joists. Slope the deck 1/8 inch per foot for runoff. These steps build a 20-year deck.
Prep Your Boards Right Before Laying Them Down
Stack lumber off the ground. Use stickers every 16 inches for airflow. Cover loosely with tarps. Rain sneaks under tight wraps.
Meter moisture if you can. Aim for 12-16% before install. This matches your site’s average.
Top Errors That Ruin New Decks and Fixes
Zero edge gaps cause buckling. Boards swell and lift. Fix: Always space 1/8 inch minimum.
Uneven spacing waves the surface. Use consistent spacers. Measure every few boards.
Wet installs swell boards instantly. Wait for dry days. Otherwise, gaps close before screws set.
No end gaps split boards. Add that 1/32 per foot. It seems small but saves headaches.
Buckle those mistakes. Your deck thanks you.
Wood expands because moisture pulls it like a sponge. Leave 1/8 to 1/4 inch gaps between boards. Tweak for your wood, climate, and width. Use spacers for pro results.
Measure your lumber’s moisture. Pick gaps from the charts. Install dry and crowned. You’ll dodge warping, cracks, and early repairs.
Grab a nail or shim today. Build that worry-free deck. What’s your next project? Share in the comments. Summers await.