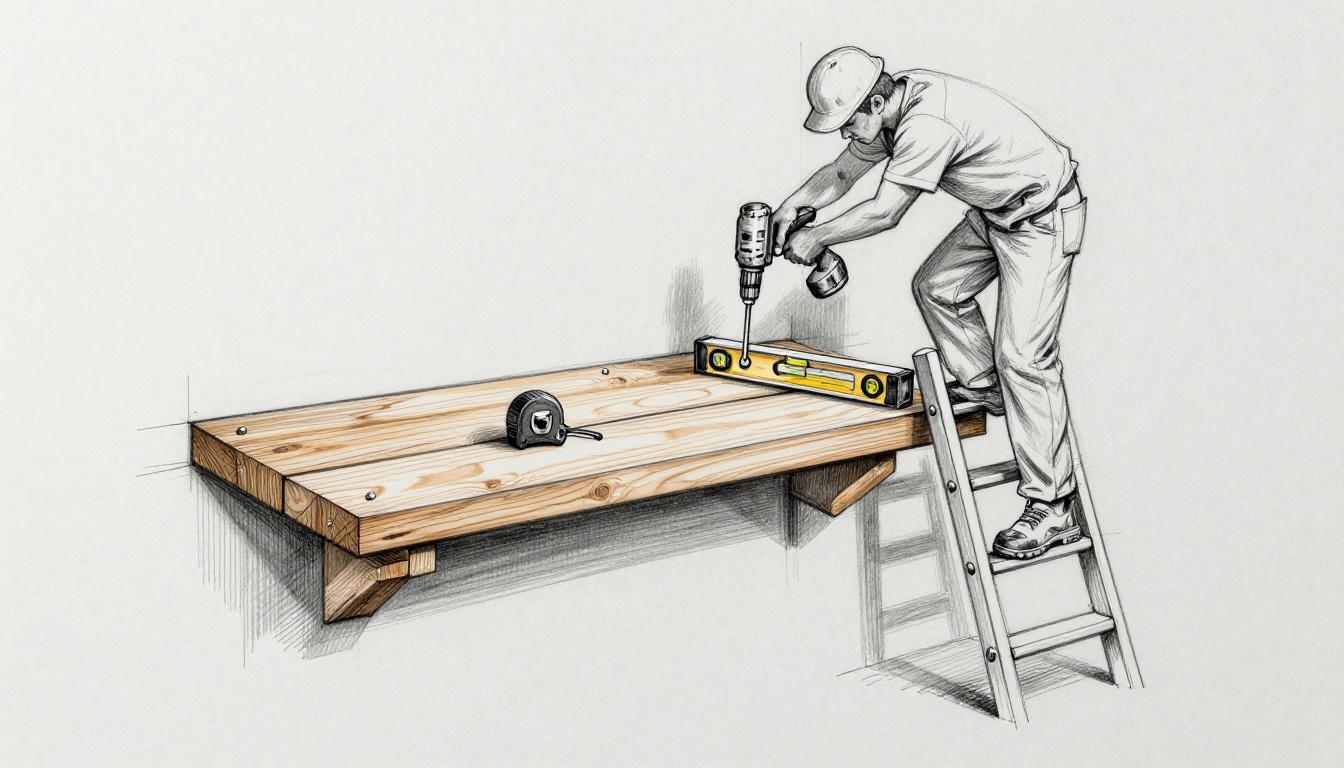
Adding a deck brings backyard fun and boosts your home’s appeal. But a shaky ledger board attachment can lead to collapses or water damage. That spells trouble for your family and wallet.
A ledger board is a horizontal piece of lumber that anchors one end of your deck to the house’s rim joist. The rim joist forms the outer edge of your floor framing. Safe installation matters because it bears heavy loads and fights moisture.
You’ll learn the key steps here: tools, prep, attachment, common pitfalls, and checks. Always check local building codes first. These tips give you clear guidance for a solid, worry-free result.
Gather the Right Tools and Materials First
Start with quality tools to make the job smooth and safe. A tape measure ensures precise cuts. Grab a level for straight work. Use a circular saw or chop saw to shape the ledger.
You’ll need a drill with bits for pilot holes. A socket wrench tightens bolts snugly. Keep a sturdy ladder handy for height. Safety gear tops the list: gloves protect your hands, goggles shield your eyes, and a hard hat guards your head.
For materials, pick pressure-treated 2x lumber that matches your deck joists. It resists rot outdoors. Get 1/2-inch lag screws or through-bolts in galvanized or stainless steel. They fight corrosion over time. Add matching washers for even pressure.
Don’t forget Z-flashing or ledger flashing to divert water. Construction adhesive strengthens the bond. Sealant keeps ends watertight. Wood screws hold things temporarily.
Plan quantities by ledger length. Space bolts every 16 inches on center. Quality items prevent failures down the road. Cheap fasteners rust fast in weather.
Here’s a quick list of essentials:
- Tools: Tape measure, 4-foot level, circular saw, drill (with 1/2-inch spade bit), socket wrench set, ladder, PPE.
- Materials: Pressure-treated 2×10 or 2×12 ledger, 1/2-inch x 5-inch lag bolts (one per foot), washers, Z-flashing, adhesive, sealant.
This setup saves time and avoids trips to the store mid-project.
Prepare Your Rim Joist and Work Area Safely
Safety comes first, so wear your PPE from the start. Gloves, goggles, and hard hat keep you protected. Falls and flying debris happen fast.
Get permits before you cut. Local codes dictate bolt size and spacing. The IRC often calls for 1/2-inch bolts no more than 16 inches apart. Call your building department to confirm.
Inspect the rim joist closely. Look for rot, cracks, or soft spots. If it’s weak, sister it with new lumber or replace the section. Jack up the house if needed for support, but brace everything well.
Clear the work area of debris and furniture. Remove siding where the ledger sits. Use a story pole to mark the ledger height. It matches your deck’s level line perfectly.
Cut the ledger to length, beveling ends for sloped sites. Seal all cut ends with preservative. This blocks moisture entry right away.
If you use adhesive, let it set per label times. Dry wood bonds best. Prep like this builds a rock-solid base. It cuts rework and boosts deck life.
Follow This Step-by-Step Installation Process
Now position the ledger. Nail it temporarily in place. Check level and plumb often. Brace it until bolts go in.
Position and Mark Your Ledger Board Accurately
Hold the ledger against the rim joist at your marked height. Use a 4-foot level across the top. Adjust until it’s dead level.
Measure down 1-1/2 inches for joist hangers later. Mark bolt locations every 16 inches. Notch siding if present, but cut carefully to avoid damage.
Drill pilot holes through the ledger and into the joist. Use a 1/8-inch spacer between ledger and house siding. Airflow there prevents trapped moisture.
Plumb the ends with a shorter level. Marks now mean bolts hit true later.
Add Flashing to Block Moisture Intrusion
Slide Z-flashing over the ledger top edge. Extend it up under the siding by 2 inches. Nail it every 12 inches into the house sheathing.
Seal edges with caulk. Water runs off the top instead of pooling. This simple step stops rot at the source.
For vinyl siding, use special ledger flashing. It slips behind without gaps. Always lap flashing shingle-style for best drainage.
Drill Holes and Secure with Strong Lag Bolts
Stagger holes in two rows, top and bottom. Drill with a 1/2-inch bit to match bolt size. Go 4 inches deep into the rim joist minimum.
Apply construction adhesive to the ledger back. Insert lag bolts with washers. Tighten to 40-50 foot-pounds using a torque wrench. Don’t overdo it, or wood splits.
Alternate bolts with dabs of adhesive. Brace the ledger securely. Let adhesive cure 24 hours before heavy loads.
Verify Everything is Level and Plumb
Run your 4-foot level along the full length again. Check end-to-end plumb too. Shim gaps with composite shims if off.
Secure shims with adhesive and screws. Retorque all bolts after a day. A plumb ledger means a stable deck.
Steer Clear of These Frequent Mistakes
Skip flashing, and water rots the rim joist in years. Always install it first.
Wrong bolt size weakens the hold. Undersized ones pull out under wind or snow. Stick to code specs.
Ignore level checks, and your deck sags unevenly. Guests notice the tilt right away.
Overlook codes, and you face fines or forced teardown. Double-check spacing and depth.
Rush the cure time on adhesive. It fails to grab fully. Wait the full period.
One deck owner skipped inspection and added weight too soon. Bolts sheared, nearly causing a fall. Use a torque wrench always. If the rim joist looks iffy, call a pro.
A safety-first approach spots issues early.
Inspect Your Work and Plan for Ongoing Care
Walk the install line by line. Tug bolts for tightness. Peek under flashing for seals.
Lightly load-test with your weight spread out. No movement means success.
Tighten any loose spots. Fill gaps with sealant.
Check yearly for loose fasteners or cracks. Reseal ends. Clear leaves from flashing.
Tighten bolts as needed. This routine keeps it strong for 20 years plus.
Hire a pro for big repairs or doubts.
Safe ledger attachment gives you a sturdy deck and real peace of mind. Follow these steps, and you’ll enjoy barbecues without worry.
Grab your tools and start today. Share your deck story in the comments. Subscribe for more DIY tips that keep projects safe and simple.
Safety beats speed every time. If unsure, get local help.